

Tripods have become one of the most useful tools available to today’s hunter.
They help us glass more effectively, shoot above vegetation, work around steep terrain, and create a stable shooting position when going prone is not possible. But simply owning a tripod does not automatically make someone a better field shooter.
A tripod is only as effective as the position built around it.
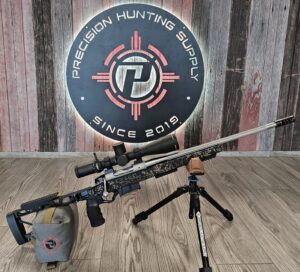
At Precision Hunting Supply, we believe good tripod shooting starts with a strong foundation. That is why we begin every student in the prone position before moving into sitting, kneeling, or standing positions from a tripod.
The goal is not to make tripod shooting more complicated. It is to help the shooter understand what true stability feels like before introducing more difficult field positions.
Prone (on your belly) is generally the most stable field shooting position available to a hunter.
It places the shooter close to the ground, reduces unnecessary body movement, and makes it easier to support both the front and rear of the rifle, making the position ROCK SOLID. This allows the student to concentrate on the fundamentals that matter most:
Starting from prone also allows us to demonstrate what they and their rifle system are truly capable of under stable conditions.
Many shooters arrive believing they have a rifle, scope, ammunition, or ballistic problem. Sometimes they do. But just as often, the issue is the shooting position or a lack of support behind the rifle.
By beginning prone, we can remove many of those variables and establish a reliable baseline.
Once the student sees consistent hits from a stable position, confidence begins to build. From there, we can introduce less stable positions and demonstrate exactly how each change affects reticle movement, recoil management, and first-round-hit probability.
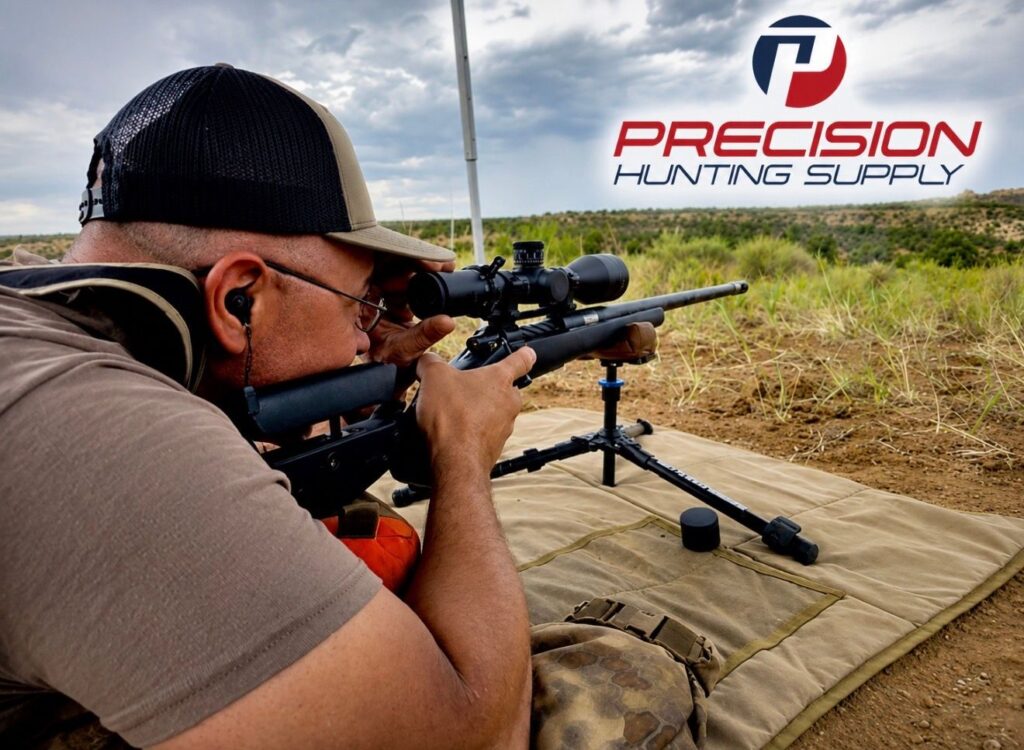
One of the biggest lessons we teach is the value of supporting both ends of the rifle.
A bipod or tripod may support the front of the rifle, but the rear still needs to be controlled. Without rear support, the rifle can move vertically, shift during the trigger press, and jump unpredictably during recoil.
One point of contact may hold the rifle up. Two points of contact begin to hold the rifle still.
From prone, this usually means using a bipod or shooting tripod in front and a rear shooting bag under the stock.
From a tripod, the second point of contact may come from:
The exact method may change, but the principle remains the same: the more support we can create behind the rifle, the more stable and repeatable the position becomes.
This also improves recoil management. A rifle that is supported and controlled at both ends is more likely to recoil straight back, stay closer to the target, and allow the shooter to spot the impact and be in a better position for a follow up shot.
That information is critical during a hunting situation. Whether the shot connects or misses, the shooter needs to see what happened and make a responsible decision about the next step.
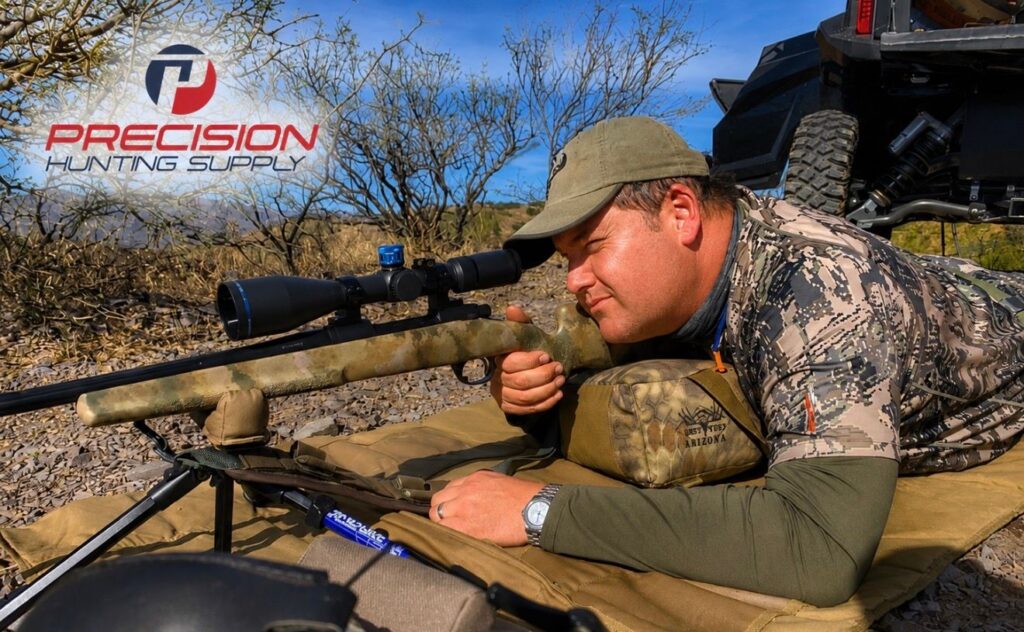
Before moving onto a tripod, we want to know what the shooter can do from the prone position.
That baseline may include:
This gives us something meaningful to compare against when we begin shooting from sitting, kneeling, and standing positions.
For example, a shooter may be very consistent from prone at 500 or 600 yards but struggle from a seated tripod position at 350 yards. That does not necessarily mean the rifle or ammunition has changed. It means the shooting position has introduced more movement.
As an example, a hunter may feel confident hitting a target at 1000 yards from a prone position, but only 600 yards sitting behind a tripod, and 300 yards standing behind a tripod. The biggest difference has become “instability”, being less comfortable, and less confident when not shooting prone. Understanding that difference is important!
A hunter’s maximum effective range is not one fixed number. It changes based on the position, terrain, wind, time, target size, having a spotter, and the amount of support the shooter can create.
Your prone effective range should not automatically become your tripod effective range. Biggest takeaway here is practicing from all these positions so you know your effective range when you are on your hunt.
Prone may be the most stable position, but terrain does not always allow it. We have a mantra at PHS… “FIGHT TO GET PRONE”! That means we want you to do everything in your power to shoot prone. If the grass is too tall, do some landscaping. If you have trees or rocks in the way, move a few yards away. If you see a better spot up or down the hill, get to it.
A tripod becomes valuable when:
In these situations, a proper tripod allows the hunter to adapt and have options.
The key is not automatically choosing the tallest or fastest position. Stay as low as possible while maintaining the most stable position the terrain allows.
Sometimes that means sitting. Sometimes kneeling is necessary. Occasionally, standing may be the only available option.
The terrain ultimately decides what position is possible. The shooter must decide whether that position is stable enough to make the shot ethically and responsibly.
One of the most common misunderstandings we deal with is the assumption that any tripod used for glassing will also make a good shooting tripod.
There can be a significant difference between the two.
A glassing tripod is primarily designed to support binoculars or a spotting scope. For that purpose, hunters often prioritize:
Those are valuable features, especially when every ounce in the pack matters. However, a tripod that works well for glassing may not provide the stability needed to support a rifle during a shot.
A shooting tripod must manage considerably more weight, pressure, movement, and recoil. Important considerations include:
A lightweight glassing tripod can be excellent for supporting optics but become noticeably less stable when a rifle is attached. The legs may flex, the head may move, or the entire system may shift as the shooter builds pressure behind the rifle.
On the other hand, the largest and heaviest shooting tripod is not automatically the best option for every hunter. The tripod still has to be carried, packed, deployed, and used throughout the hunt.
The right choice depends on how the tripod will actually be used.
Some hunters want the lightest possible tripod strictly for glassing. Others need a more rigid tripod primarily for shooting. Many hunters want one tripod that can perform both jobs, which requires finding the right balance between weight, packed size, height, and stability.
This is something we deal with all the time at Precision Hunting Supply.
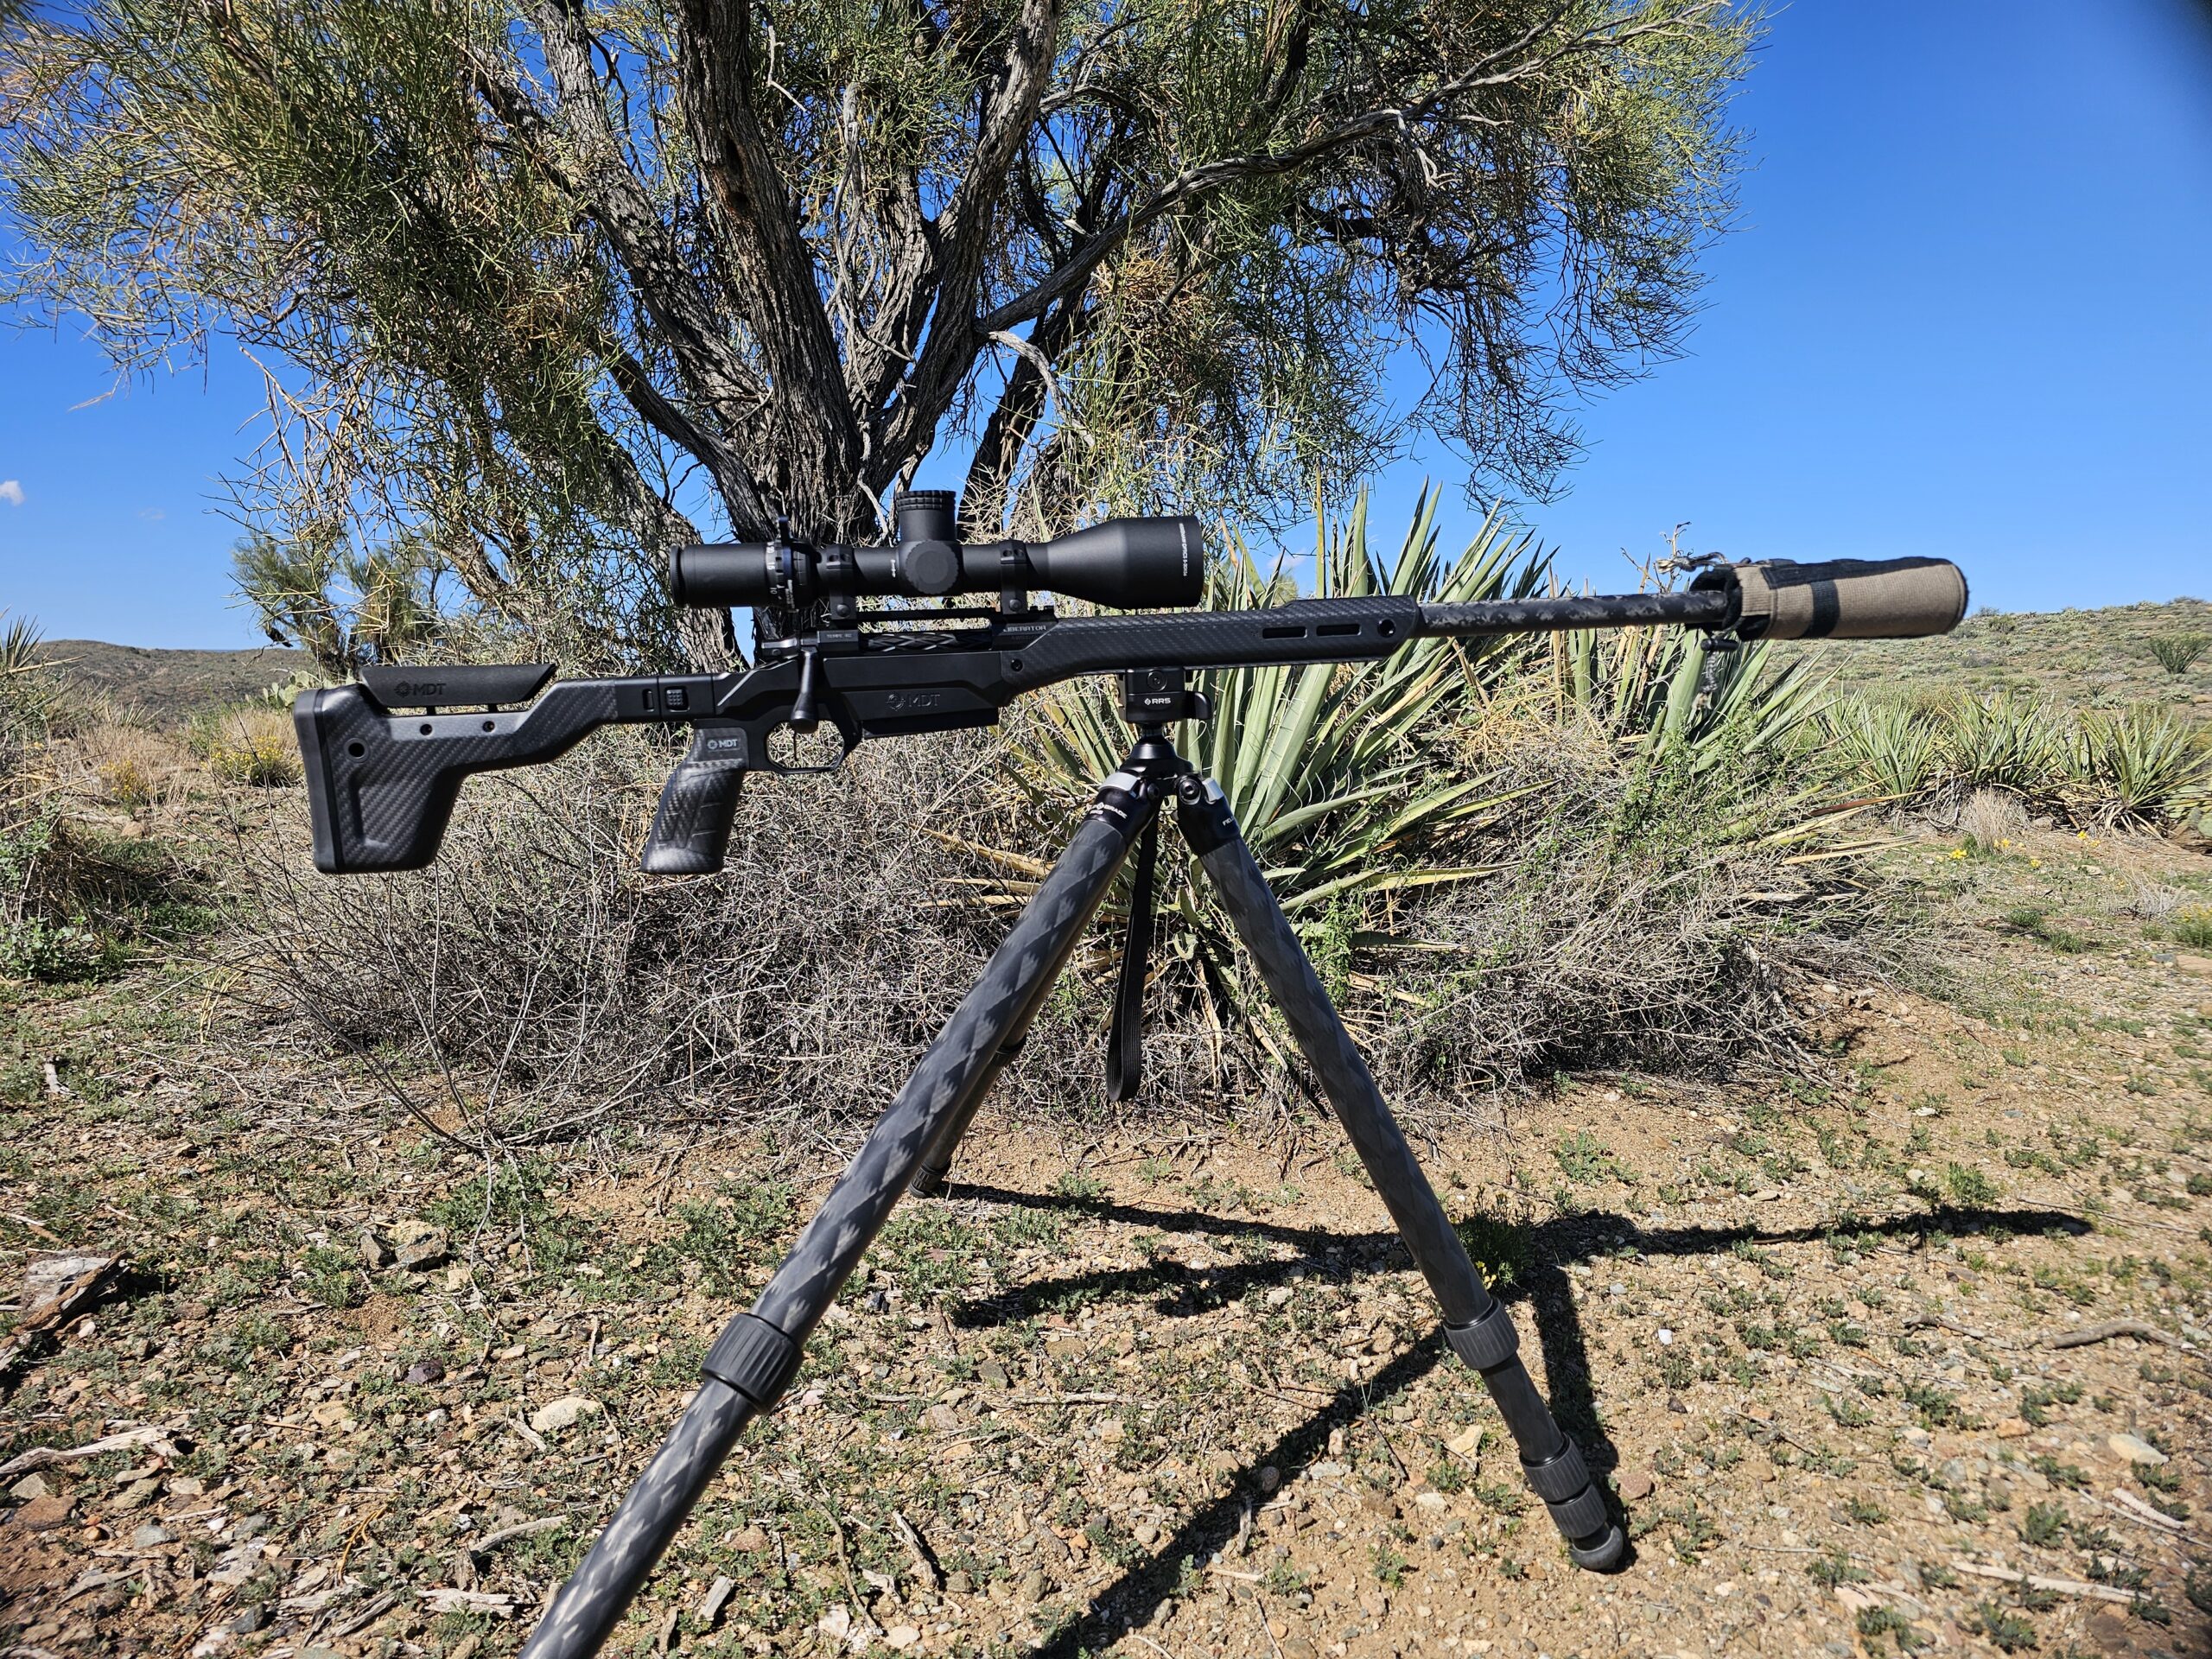
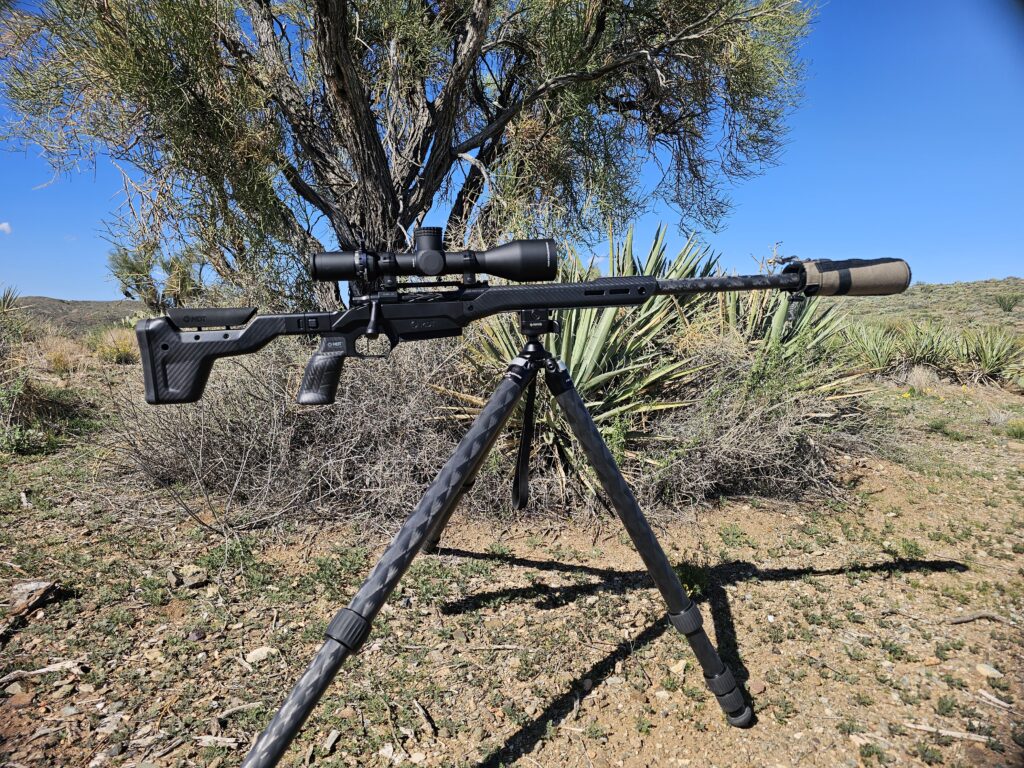
There is no single tripod that is perfect for every hunter, rifle, optic, and hunting style (although we have a really good option with a Tricer HK Kit). We carry plenty of tripod options and help customers compare them based on how they hunt, what equipment they use, and how much stability they realistically need.
Before choosing a tripod, consider:
Understanding the difference between a glassing tripod (light and less stable) and a shooting tripod (heavier and more stable) can prevent an expensive mistake.
The goal is not simply to purchase a tripod. It is to choose a system that performs the job you expect it to do.
You can view our current selection of tripods and tripod accessories at Precision Hunting Supply, or contact us for help selecting the right option for your hunting and shooting needs.
Once a student understands the stability available from prone, we begin moving upward.
As the rifle gets higher off the ground, stability decreases. The shooter becomes more dependent on body position, muscle control, tripod quality, and additional support.
For many hunters, sitting is the most useful tripod position after prone. Whether this means literally sitting with your butt on the ground, or sitting on one of our lightweight stools, sitting is the next best thing.
It provides enough height to see over moderate vegetation / terrain while still allowing the shooter to remain connected to the ground.
A strong seated position may include:
There is no single perfect sitting position. Terrain, body type, slope, and available time all affect how the shooter sets up.
The best position is one the shooter can hold without fighting the rifle, and staying comfortable, without unnecessary reticle “wobble” or “float”.
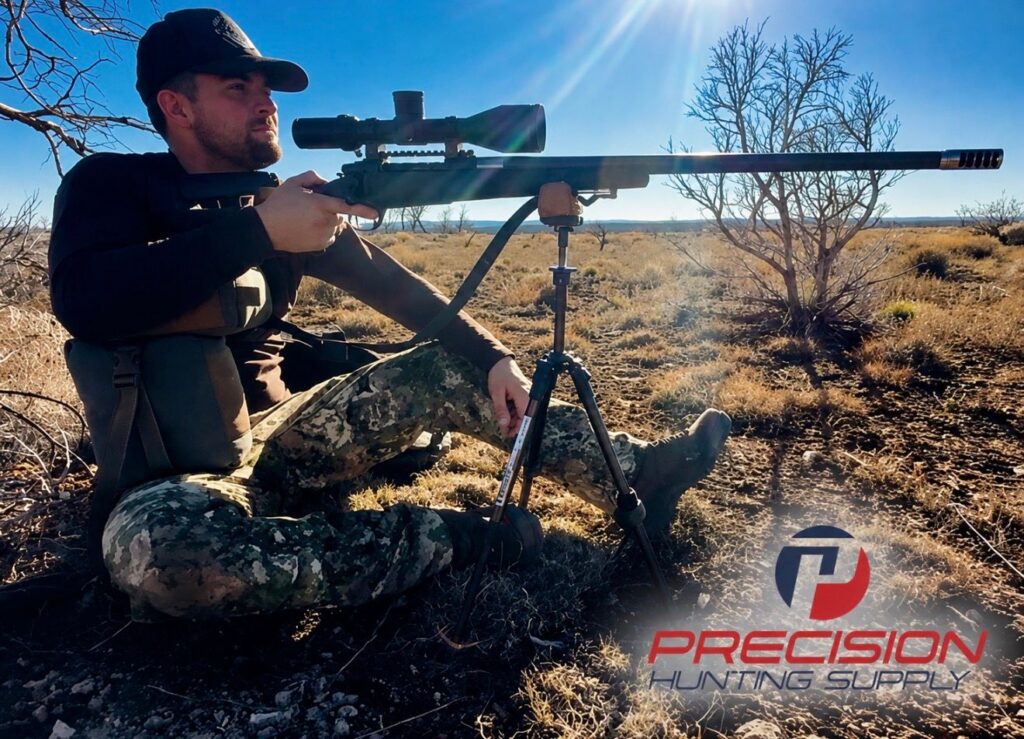
**Notice the lightweight shooting bag under the students right arm to provide support!
Kneeling provides additional height but introduces more movement.
Whenever possible, placing one knee on the ground helps connect the shooter to the terrain. The raised knee may also support an elbow and reduce the amount of muscular effort required to hold the position.
A kneeling shooter should look for ways to add support rather than relying entirely on balance and strength.
That may mean using:
The more the shooter can rely on bone structure and outside support, the less the position depends on muscle tension.
Standing is generally the least stable tripod position, but it can still be useful when vegetation or terrain requires the additional height.
A strong standing position may include:
Standing tripod shots should not be viewed as a replacement for a lower position when sitting or kneeling is available.
They are a specialized field solution for situations where additional height is necessary.
There are several ways to support a rifle from a tripod. Each has advantages and tradeoffs.
A rifle saddle / clamp works with many traditional hunting stocks and usually does not require permanent modification to the rifle.
Advantages include:
Considerations include:
A clamp can be a good option for hunters who use several rifles or do not want to (or the stock does not allow) install a rail on a traditional stock.
An Arca rail creates a direct connection between the rifle and tripod head.
Advantages include:
Considerations include:
For hunters who regularly shoot from a tripod, an Arca system can make the transition from carrying to shooting faster and more repeatable.
A rifle can also be rested across the tripod, a shooting bag, or another support without being mechanically attached.
This method can be fast and may be useful when the shooting window is short. We only suggest this for CLOSE and FAST shots (think of an African style hunt).
However, it is generally MUCH less secure and requires more control from the shooter. The rifle can shift during the trigger press or recoil, and the shooter must be careful not to allow the fore-end to slide or bounce. Lots of movement opportunity.
There is no single correct method for every hunter. The best connection depends on the rifle, the hunt, the terrain, and how quickly the position needs to be built. For extended range shot opportunities, you “usually” have the time to prepare. The animal doesn’t know you are there, they are calm and not on alert, and you can build your position to take a ROCK SOLID shot.
One of the most common mistakes we see is a shooter extending the tripod higher than necessary for their given situation.
Every increase in height generally reduces stability. Wait, but shooting standing is what all the cool kids are doing….I saw it on INSTA! Yeah well…..welcome back to reality. Get low my friend, get low.
A seated position is usually more stable than kneeling. A kneeling position is usually more stable than standing. A wide tripod stance is usually more stable than a narrow one.
The fact that a tripod can extend to standing height does not mean the shooter should automatically use it that way.
Before raising the tripod, ask:
Center columns can be convenient for glassing, but they usually add movement when used as part of a shooting position. When possible, keep the center column lowered, locked. and adjust the tripod legs instead.
Do not ask how tall your shooting tripod can go. Ask how low you can keep it and still make the shot.
There’s many differences between glassing and shooting tripods. Weight, function, material, leg size, height.
A shooting tripod is not a shortcut around shooting fundamentals. It’s become a new adjunct to use in our community and with the proper knowledge and training, a very useful tool to consider.
It is a tool that allows a trained shooter to create stability when a traditional prone position is not available.
Start by learning what a stable rifle feels like from prone. Understand the value of supporting both the front and rear of the rifle. Establish a realistic baseline. Then begin moving into sitting, kneeling, and standing positions one step at a time. This sets you up for success and allows you to know your limits.
The goal is not to prove how far you can shoot from a tripod. The goal is to build the most stable position the terrain allows and make a responsible first-round shot and kill.
At Precision Hunting Supply, we help hunters choose tripod systems based on how they will actually be used—not simply on weight, price, or maximum height. Whether you need a lightweight glassing tripod, a rigid shooting platform, or one system capable of doing both, we have several proven options and can help you understand the tradeoffs.
Explore our current selection of tripods and tripod accessories or contact us to discuss the best setup for your rifle, optics, and hunting style. Call us with any questions, or stop by the store to check out our options.
1058 N Higley Rd #108 Mesa Az
480-748-2200
info@precisionhuntingsupply.com
10-4 Tues – Sat